f. Instalation. Refer to paragraph 3-114
(b) Grasp hex cap on cylinder cap (4,
and install the pump.
housing (1). Pull out exposed valve spring (7)
and top valve spring stop (6) by placing large
:
Numbers 69-29737 through
screwdriver in coils of spring (7) and prying
69-29942)
downward so spring snaps off top valve spring
stop (6)
a. Removal. Remove the low pressure pump
(c) Valve shifter rod (8) will slide out
as instructed in paragraph 3-114.
at keyhole slot in top valve spring stop (6) and
b. Disassembly. Disassemble the low pres-
cylinder cap may be removed. Pull complete
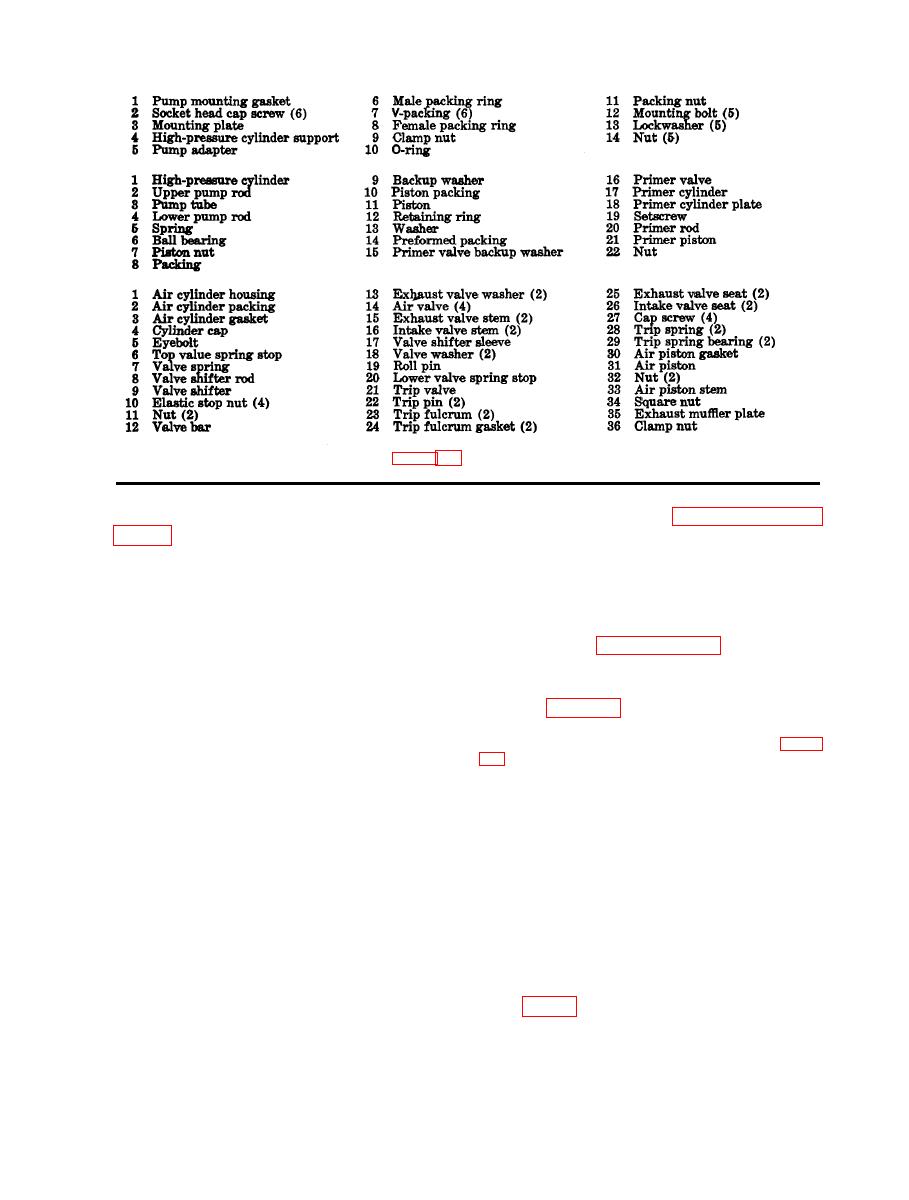
sure pump in the numerical sequence as illus-
air piston assembly out of air cylinder.
trated in figure 8-2.
(d) Examine packing (2), gasket (30)
Note. The low pressure pump air cylinder is iden-
and air valve (14).
tical to the high pressure pump air cylinder. See figure
(e) If worn or damaged, remove four
screws (27) holding trip spring bearing (29)
c. Cleaning and Inspection.
to air piston (31).
(1) Clean all parts in an approved clean-
(f) Remove springs (28) and trip
ing solvent.
spring bearing (29). Remove two nuts (10) on
(2) Inspect and replace any worn or
end of valve stem (15).
damaged parts.
(g) Remove washers (13) and air
(3) Inspect threaded surfaces for damage.
valve (14). Grasp valve bar (12) and pull out
(4) Replace all parts supplied in parts kit.
of air piston; remove air valve (14).
(h) Reassemble in reverse order.
d. Repair.
Note. Be sure spring (7) is snapped in place
(1) To clean foot valve and transfer
on top valve spring stop (6).
valve proceed as follows:
Note. Before replacing cylinder cap (4), re-
(a) To clean foot valve, unscrew foot
place tube adapter and rod in order to tighten rod in
valve assembly, then remove retaining ring
air piston securely.
e. Reassembly. Reassembly is essentially
(11, fig. 8-2A) and ball (12). Clean ball and
body thoroughly and replace.
the reverse of disassembly.


