TM 5-4310-227-15
Be sure to note the different
Note.
lengths of the cylinder head cap screws, as
they are removed, to facilitate correct in-
stallation.
(5) Remove the cylinder head and gasket
(33, fig. 3-18) from the cylinder and
crankcase assembly (17).
(6) Remove the cylinder head stud (5)
from the cylinder and crankcase as-
sembly, only if necessary.
b. Cleaning and Inspection.
(1) Clean all metal parts in an approved
cleaning solvent and dry thoroughly.
Use a wire brush and remove all car-
bon deposits from the cylinder head.
(2) R o t a t e the engine until the piston
reaches its highest point of travel.
Brush the carbon deposits from the
top of the piston.
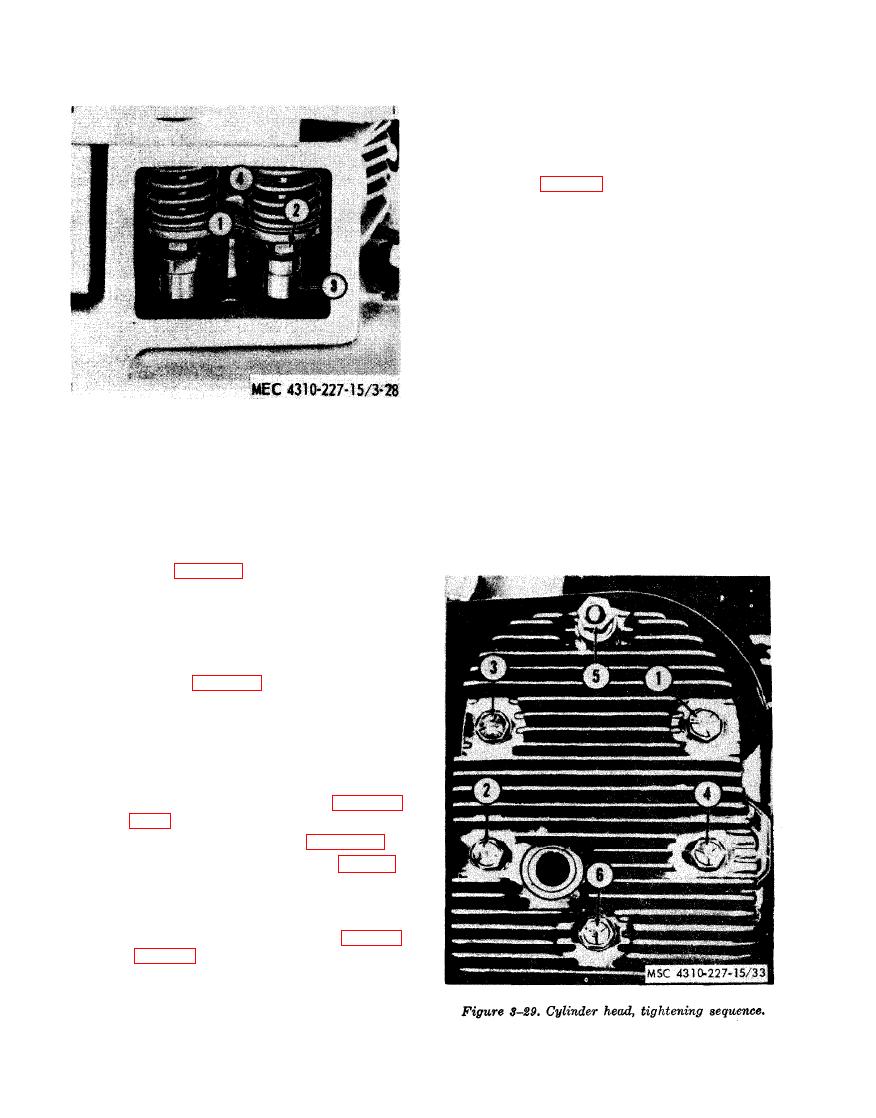
1
Valve rotator (2 rqr)
Avoid spilling dirt around the
Note.
2
Valve lifter adjustment screw (2 rqr)
valves and valve seats.
3
Valve lifter (2 rqr)
(3) Inspect the cylinder head for cracks,
4
valve (2 rqr)
breaks, and warped condition. Inspect
the spark plug hole and cylinder head
capscrews for damaged threads. Re-
d. Valve Chamber Cover Installation.
place a defective part.
(1) Secure the valve chamber access cover
(14, fig. 3-18) and gasket (13) to
the cylinder and crankcase assembly
(17) with the flat washer (16) and
bolt (15).
(2) Install the air cleaner, bracket, car-
buretor, and intake manifold as an as-
sembly (para 3-38, 3-37, and 3-67).
(3) Install the fuel strainer - to - carbure-
tor tube (pare 3-34).
a. Removal.
(1) Remove the fuel tank bracket (para
(2) Remove the spark plug (para 3-44).
(3) Remove the two screws (9, fig. 3-2)
and lockwashers (8) that secure the
air shroud (22) to the cylinder head
(6).
(4) R e m o v e the 3 capscrews (31, fig.
washers (5) that secure the cylinder
head (32) to the cylinder and crank
case assembly (19).


