TM 5-4310-276-14
6-9. Manifold-Muffler
a Removal.
(c) Remove two screws that secure the air
(1) Remove screws and remove the side cylin-
cleaner bracket to the bearing cap, and remove air
der head covers.
cleaner.
(3) Remove carburetor.
(4) Remove screws and remove intake man-
ifold and discard gasket,
b. Inspection and Repair.
(1) Inspect the intake manifold for crack%
gasket mounting faces for scratches, gouges, and
broken mounting flanges and elongated mounting
holes.
(2) Repair or replace the intake manifold.
c. Installation.
(1) Use new gasket and install the intake
manifold. Use an inch-pound torque wrench and
torque the intake manifold mounting screws to 40-
50 inch-pounds.
(2) Install carburetor.
(3) Install air cleaner (Model 1A08-3).
(a) Attach cleaner bracket to the bearing
cap with two screws.
(c) Install two hoses and tighten four
clamp screws.
(4) Install air cleaner (Models 1A08-1 and
1A08-2).
(a) Install mounting clamp around air
cleaner and tighten mounting clamp screws (fig. 6-
(b) Install air hose and tighten two clamps.
(c) Connect breather line to cleaner.
stallation (Model 1AOS-1)
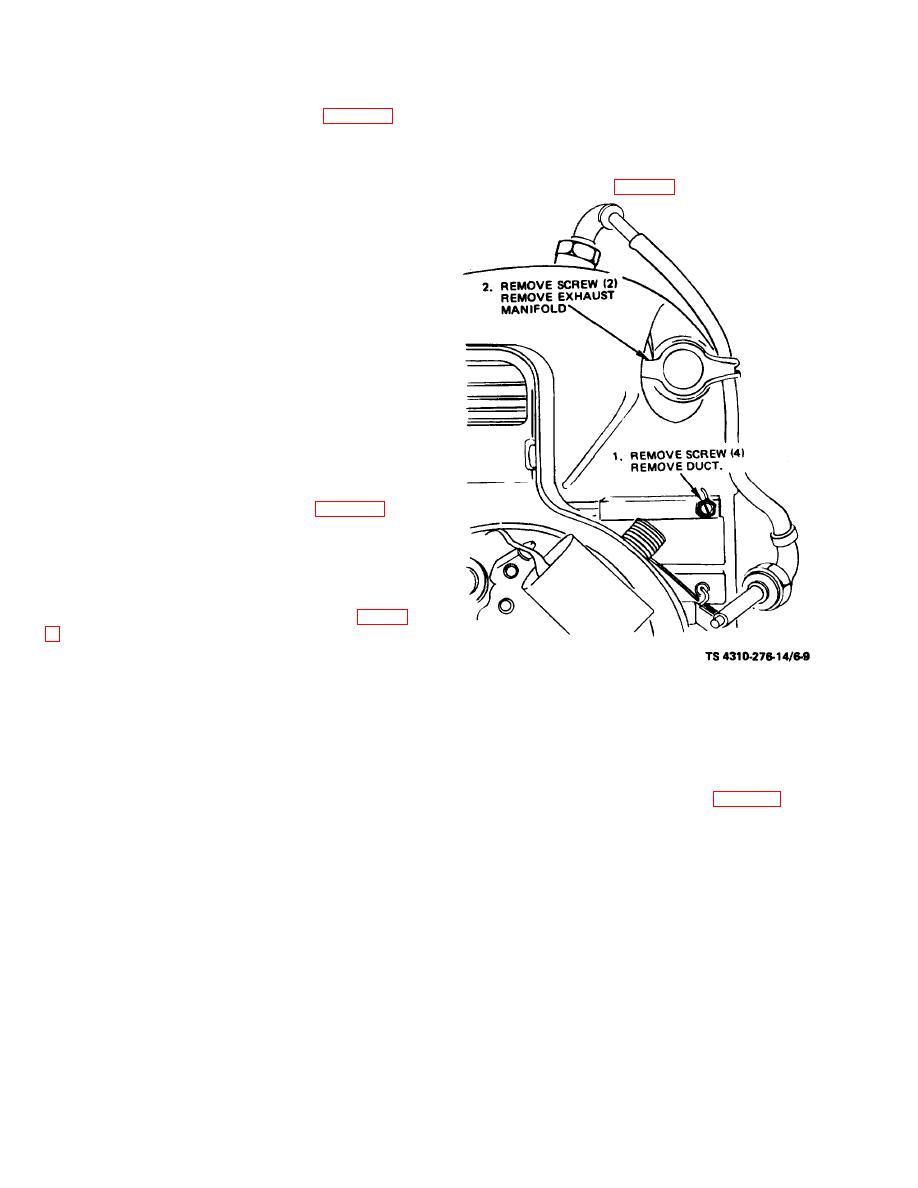
(a) Remove four screws and remove duct.
manifold.
6-10


