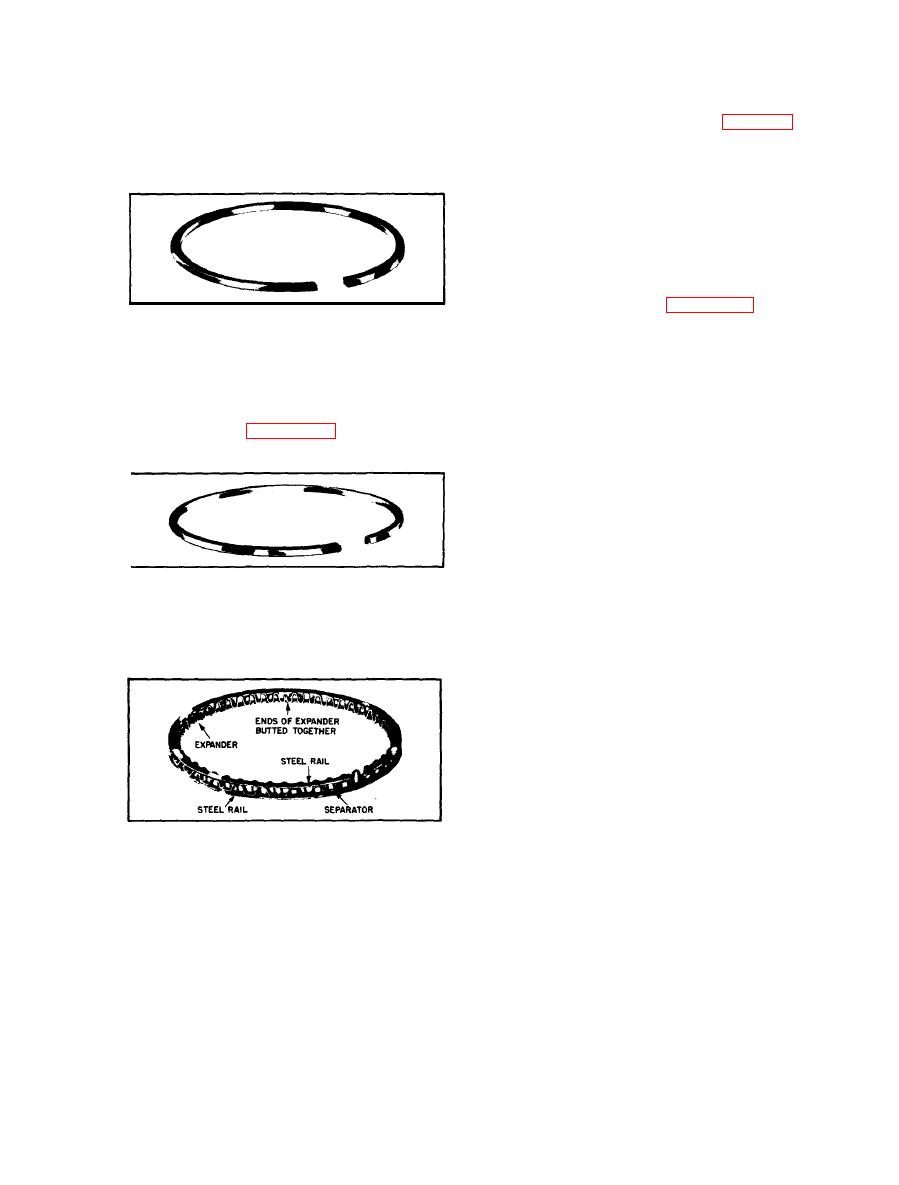
5-7.4. Oil rings are classed as "H" type,
is a single-piece, non-ventilated, beveled-
scraper style ring. This style ring has both
beveled and undercut edges which allow it to
act as a combination oil-scraper and com-
pression sealing ring. See Figure 5-6. The
"M" type ring is a four-piece, ventilated,
chrome plated, steel rail style ring. This
Taper-Faced Style Compression Ring
style ring utilizes an expander which exerts
a uniform pressure all the way around two
independent, thin, cylinder contacting rails, the rails being held apart by an open separator.
This style of ring provides maximum oil drainage with the most uniform and positive con-
formability. See Figure 5-7.
5-7.5. The following paragraphs contain
complete instructions, in step-by-step pro-
cedure, for the disassembly, cleaning, in-
spection and replacement of cylinders, pis -
ton rings and pistons; therefore, before
installing new replacement piston rings, we
recommend that the entire procedure be
very carefully read. Refer to Figure 6-2.
Non-Ventilated Beveled-Scraper Style
5-7.5.1. Disconnect any tube lines to the
Oil Control Wiper Ring
air head. Remove the air head attaching
screws and washers and then remove the
entire air head assembly from the cylinder.
Remove the air head gasket. If the gasket
sticks, a thin blade may be used to pry the
gasket loose from the air head or the cyl-
inder.
5-7.5.2. Remove the cylinder attaching
screws and washers and then carefully re-
move the cylinder from over the piston
and piston rings. Remove the cylinder-to-
crankcase gaskets.
Ventilated, Chrome Plated Steel Rail
Style Oil Control Wiper Ring
5-7.5.3. Remove the piston from its con-
necting rod and then remove all of the old piston rings from the piston.
5-7.5.4. Thoroughly clean the air head by brushing or scraping lightly to remove any accu-
mulated carbon deposits. Make sure the gasket surface is thoroughly cleaned of any gasket
particles.
5-5


