and remove oil seals (18, 19, and 21,
fig. 57). Refer to figure 60 for re-
moval of rear oil seal.
b. Cleaning, Inspection, and Repair. Clean
all metal parts in an approved cleaning solvent
and dry thoroughly. Wipe nonmetal parts with
a clean, dry cloth.
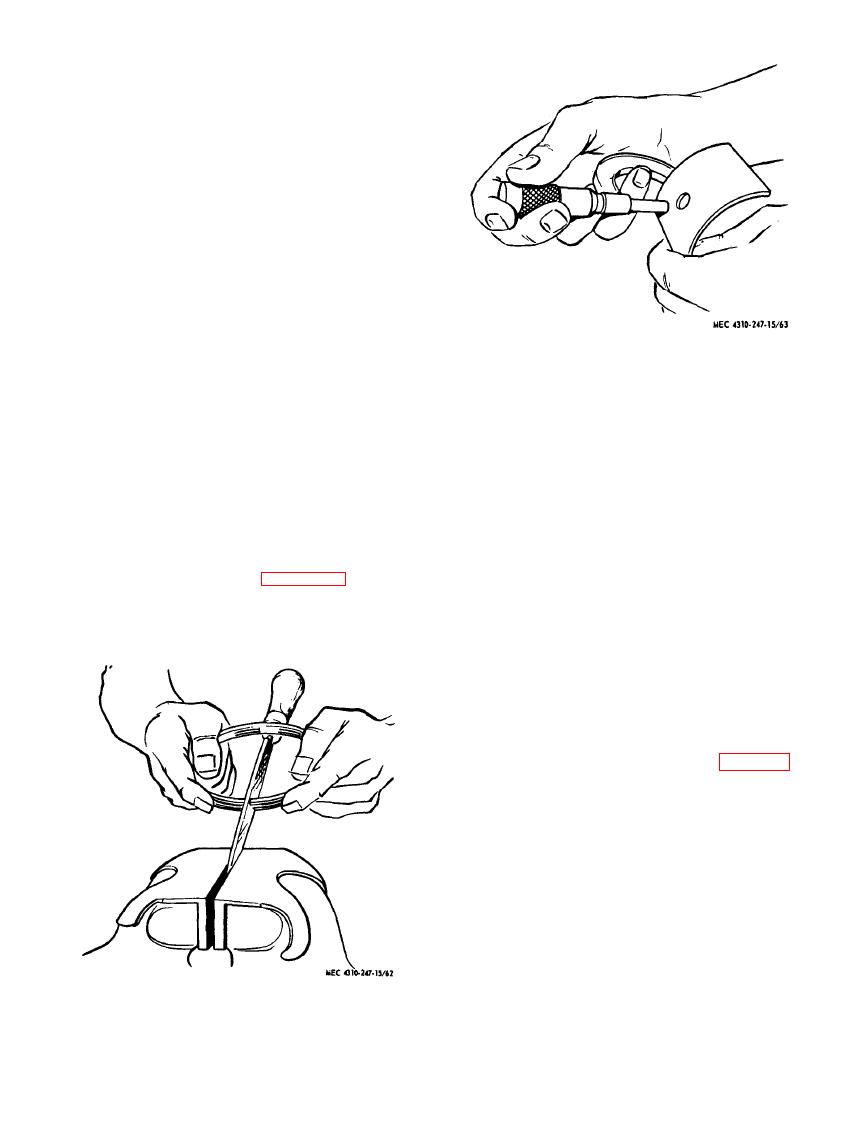
(1) Check the piston fit in the bore (.006
in. with 5- to 10-lb pull). Also check
the piston rings in the cylinders for
gap (.012 to .023). If any ring does
not have enough gap, it may be filed
(fig. 62).
(2) Check the bushing (41, fig. 57) for
wear. Replace a worn bushing and
hone to fit pin (44).
Figure 63. Bearing measurement.
(3) Check the connecting rod assembly
for squareness, twist, and alignment.
fan-drive pulley (10, fig. 57) for
(4) Check the crankshaft journal and
roughness or scratches. Slight dam-
main bearing clearances.
age can be repaired by brazing, turn-
(5) Inspect main bearings (26, 29, and
ing, and polishing. Otherwise, replace
33) and crankshaft. If there is any
the pulley.
indication of flaking out, scoring, or
(8) Clean and examine the rear oil seal.
actual wear, they must be replaced.
Clean all contact surfaces and make
If visual inspection is satisfactory,
sure sealing surface on crankshaft is
bearings should be checked for thick-
smooth and free from scratches.
ness with a ball micrometer (fig. 63).
(9) Clean the seal groove in the cylinder
Note. If the thickness of the bearing
block and filler block. The cylinder
shells has been reduced more than .0005 inch
block groove can be cleaned through
from that given in paragraph 94, the bearing
the flywheel mounting hole in the
shell must be replaced.
(6) Check the front oil seal and replace if
crankshaft. Make sure that sealing
surface on crankshaft is smooth and
damaged.
(7) Examine the contact surface on the
free from scratches.
(10) Check rear main bearing (23) for
excessive clearance.
(11) Check side clearance of piston rings
(46, 47, 48, and 49) at various posi-
tions with a feeler (fig. 64), in accord-
ance with the tolerances given in para-
graph 94. If any ring lacks clearance,
it can be removed and lapped on a flat
plate. Use crocus cloth to reduce the
ring to the specified clearance.
c. Reassembly and Installation. Reassemble
and install the internal parts of the engine as
shown in figure 57. When reassembling pistons
(46) and connecting rods (36), oil the bores
thoroughly and be careful to prevent connect-
ing rods from damaging the cylinder bore fin-
ish. Always lubricate the bearings with clean
engine oil when assembling, and tighten them
Figure 62. Piston ring gap.
AGO 8166A
87


